Writing a little x64 UEFI application
I’ve been fiddling about with UEFI recently, and trying to work out how I can write a UEFI application which could form the bootloader of an operating system. It seems like a pretty nice interface, so I’ll write a bit about it here.
TL;DR: This post is the first in a small series in which I talk about bootloader and operating system development. In this one I talk about what UEFI is, how it works, how to write a simple UEFI application for the x64 architecture, compile it, and run it via emulation and on real hardware.
Also, please do follow along with the code described in this post, which you can find here!
Post contents:
What is UEFI?
When I’ve had a go at making an operating system before, I either wrote a tiny bootloader in a MBR boot sector, or used GRUB. Most recently, though, I experimented with Limine, which is a bit more modern and does talk to UEFI to get the kernel booted and running. It also does a few cool things like exposing certain pieces of system information to the kernel through structs. I wasn’t entirely satisfied though; the whole reason that I’m interested in making my own operating system is to understand how every piece works, and so I need to write a proper bootloader first.
The “legacy” way of booting a computer is by writing a little piece (<512 bytes) of code which sits at the beginning of a disk (paritioned with the MBR scheme). The BIOS (which is the firmware installed on your motherboard, that has now been superceded by UEFI) looks for the bootstrap code and jumps to it when the computer is turned on. That bit of code “bootstraps” the operating system by reading in the OS code from the rest of the disk into memory, then jumping to it.
The thing is, it’s difficult and fiddly to write this kind of bootstrap code. Reading disks is only doable through a super low level interface; writing to the screen is not trivial; and the MBR partioning scheme limits the number of partitions. Also, maybe more importantly, it’s all extremely platform dependent, and not well documented. Like, how do you know if the system has video output? How do you find out the address of the memory to write to to draw pixels on the screen? How do you know the memory layout, or the attached the disks? It’s all pretty annoying, and the reason that I didn’t make a proper bootloader before.
But, UEFI is the “modern” approach, and solves pretty much all of these problems. UEFI is a specification which describes a class of firmware which is able to load “UEFI Applications” (which are really just executable, structured pieces of code that do things), and clearly describes the following:
- What state the CPU is in when control is passed to the UEFI application,
- What information is passed to the application,
- What services are available, and
- Which devices on the system support certain protocols (like disk access and video output), along with exposing simple function handles to use them.
It’s all very nice, and makes developing bootloader code much easier and more similar to writing normal high-level code. It also makes it much simpler for me to get my bootloader running on my real computer, rather than just using an emulator.
The rest of this post will make up the first of a small series, in which I’ll describe interesting bits I run into while developing an operating system. This time I’ll just go over how to get set up with writing a UEFI application, how to compile it together, and run it. In the next post I’ll show how to load an executable ELF file from the disk (i.e. the kernel code) and pass control to it from the bootloader!
How does UEFI invoke our code?
The first thing to do is get a copy of the UEFI spec, which you can either view as HTML or download as a PDF (my preference since I can then go through and annotate it). It’s crazily long, like 2,300 pages, but most of that is descriptions of specific protocols which you probably won’t even need to use. It’s organised pretty nicely for skim-reading. I’d say the most relevant sections for us are 1.6 (UEFI overview), 2.3.4 (x64 calling conventions), 2.4 (Protocols), and 4 (EFI System Table). We will then look up certain relevant parts of sections 7 (Boot Services) and various protocol sections when we want to use them. It’s not actually too much to read!
So the general idea is this: when you press the power button on your computer, the firmware (some UEFI implementation) will get going and look for a UEFI application to run. It first tries a user-specified boot order stored in on-chip nonvolatile memory, and if it can’t find anything suitable there it will instead look up the default path of /EFI/BOOT{machine type}.EFI, which in the case of x64 looks like /EFI/BOOTX64.EFI.
Once it finds the EFI file that it should boot, it locates its entry point and calls it as a function. The “handoff state” (UEFI spec 2.3.4.1) is such that an EFI_HANDLE is in the register rcx, and an EFI_SYSTEM_TABLE* in rdx. Our entry point is also allowed to return a value (UEFI spec 4.1.1) of type EFI_STATUS. If it returns, the UEFI firmware goes back to the boot menu. Since eventually our UEFI application will load and run an operating system, it will never actually return, in practice.
The system table which the firmware passes to “us” contains a bunch of information and function pointers(!), which I think is very exciting. The firmware implements some useful procedures which we can just call directly by looking through the system table!
Anyway, to start with, this “handoff state” together with a definition in UEFI spec 4.1.1 tells us that we can write our EFI entry point like so:
EFI_STATUS efi_main(EFI_HANDLE ImageHandle, EFI_SYSTEM_TABLE *SystemTable)
{
    // Do bootloading stuff
}
But wait, where do all these types come from? Well, luckily, UEFI spec 2.3.1 gives us a big table explaining what every type they use means. They sort of redefine lots of standard C types just to make sure everyone’s on the same page. For now, we just need to know that an EFI_STATUS is a native width unsigned integer (i.e. uint64_t on x64); an EFI_HANDLE is a void*, and an EFI_SYSTEM_TABLE is a particular struct (UEFI spec 4.3.1).
How do we talk to UEFI?
For today, let’s start with a really simple example. One prerequisite for a “proper” bootloader is obviously that we can print Hello World, right?
As an aside for a moment, let’s consider how we would do such a thing without UEFI. Imagine that we booted from BIOS instead, and we have a little <512 byte chunk of assembly code. Well, that’s not a lot of space, so usually you plonk a bit more code somewhere else and load that as a second stage of the loader. But then, how to write text to the screen? Well, BIOS systems often support a compatability mode where on boot there is “VGA memory” at a certain address, with the VGA driver running in text mode. If you write some text into that memory, some characters will show up on the screen. So it’s not too hard to display some text, but it’s just a raw text buffer, and we would have to manually implement screen scrolling and even just moving the cursor. It’s a bit of a hassle.
According to UEFI spec 4.3.1, the system table is a pointer to a struct with the following layout:
typedef struct {
    EFI_TABLE_HEADER Hdr;
    CHAR16 *FirmwareVendor;
    uint32_t FirmwareRevision;
    EFI_HANDLE ConsoleInHandle;
    EFI_SIMPLE_TEXT_INPUT_PROTOCOL *ConIn;
    EFI_HANDLE ConsoleOutHandle;
    EFI_SIMPLE_TEXT_OUTPUT_PROTOCOL *ConOut;
    EFI_HANDLE StandardErrorHandle;
    EFI_SIMPLE_TEXT_OUTPUT_PROTOCOL *StdErr;
    EFI_RUNTIME_SERVICES *RuntimeServices;
    EFI_BOOT_SERVICES *BootServices;
    UINTN NumberOfTableEntries;
    EFI_CONFIGURATION_TABLE ConfigurationTable[];
} EFI_SYSTEM_TABLE;
For now, don’t worry about most of these fields. Focus specifically on the ConOut member, which is of type EFI_SIMPLE_TEXT_OUTPUT_PROTOCOL. A protocol, in UEFI, is a specific set of procedures that are supported by a certain object. (An object is a bit of an opaque and broad definition, by design. It can be anything which you can get a handle on, but is commonly a disk, other hardware device, filesystem, or file.)
This specific protocol, the EFI_SIMPLE_TEXT_OUTPUT_PROTOCOL, is supported by objects that support, uh, simple text output. Typically this is a screen, but there’s no reason I can think of that mean it couldn’t also be, for instance, a printer.
The protocol itself is defined by its own struct, whose members are all function pointers. You can see these all defined very clearly in UEFI spec 12.4.1. Since right now we’re only interested in outputting some text, there’s no need to fill in the precise definitions for all the function pointers, so we can define them as void pointers instead.
typedef struct _EFI_SIMPLE_TEXT_OUTPUT_PROTOCOL {
    void *Reset;
    EFI_STATUS(EFIAPI *OutputString)(
        struct _EFI_SIMPLE_TEXT_OUTPUT_PROTOCOL *This,
        CHAR16 *String);
    void *TestString;

    /* ... some fields omitted here for brevity, but it's important they all be filled in */
} EFI_SIMPLE_TEXT_OUTPUT_PROTOCOL;
If you want, you can think of this is an object oriented interface, where these function pointers are methods on a class. In this way it is simple to understand that the first parameter, This, is a pointer to the specific instance of a SIMPLE_TEXT_OUTPUT_PROTOCOL, which for us will be the one we find in the system table.
So with that said and done, let’s print some text! The next few blocks of code make up our entire efi_main entry point function; I’ll go over it line-by-line.
EFI_STATUS EFIAPI efi_main(EFI_HANDLE ImageHandle, EFI_SYSTEM_TABLE *SystemTable)
{
First, as before, we have to declare our entry point with a signature that matches that defined by UEFI. Here we introduce an important addition, though: we annotate our function with this EFIAPI symbol. This is simply a macro for __attribute__((ms_abi)), and instructs that the compiler that this function should be compiled as if using the Microsoft calling convention. The reason for this is because it is the calling convention that UEFI mandates, and the reason for that is that UEFI applications are PE applications (a format developed by Microsoft). I don’t really know why UEFI selected Microsoft’s executable format (and therefore calling convention), but I guess they had to pick something. It just means we need to explicitly use the ms_abi attribute on any functions that UEFI “talks to”.
EFI_SIMPLE_TEXT_OUTPUT_PROTOCOL *out = SystemTable->ConOut;
Here we just retrieve the simple text output protocol instance from the system table. This bit’s pretty straightforward. If you want, you could also save it to a global variable so that it can easily be used if any other functions need to print things.
    out->OutputString(out, L"Hello, world!\r\n");
    while (1) ;
}
Finally, let’s actually do the thing! We’re using the protocol instance both as a table of functions to find the OutputString method, as well as passing it as the This argument in said method. The weird bit here to discuss is what’s going on with the string. Firstly, we declare the string with the L prefix, which produces a wide string literal within which each character is 2 bytes. We have to do this because it’s what the OutputString function expects (UEFI spec 12.4.3), and it is actually nice as it provides good unicode support. Then, we end our string with “\r\n”, which will look normal to Windows users and slightly odd to Linux users. The “\r” (carriage return) moves the cursor to the first column, and “\n” (line feed) moves the cursor down one line, potentially scrolling (UEFI spec Table 12.10). Think of them together as going to the start of the next line.
Finally, the infinite loop right at the end keeps control within our function, so that the machine doesn’t keep resetting back to the UEFI menu.
Compilation and Running
This function, along with definitions for the UEFI types used by it, are really all we need!
Overall, we want the following:
- A disk (image) formatted using GPT partitioning. UEFI understands both GPT and the legacy MBR partitioning schemes, but GPT is better, so we’ll use it.
- A FAT filesystem on this disk. FAT is the required filesystem for UEFI to read and load UEFI applications from.
- Our compiled UEFI application, as a PE(32+) executable, sitting in that FAT filesystem at the path “/EFI/BOOT/BOOTX64.EFI”.
Once all this is in place, in theory our disk image is ready to flash onto a USB stick and plug into our computer to boot from!
Notice: It might be worth mentioning here that running random code like this on your own machine can cause Bad Things, because the code runs at supervisor level and if something is written wrong it could erase your disk, corrupt things, or otherwise be a nuisance. For safety and also just ease of use, it’s better to emulate a machine using something like QEMU (which we will see later), but the satisfaction of your code running on real hardware is maybe worth it. Up to you.
Anyway, how to construct such a disk image? I’m working on Linux, so I have a package installed called dosfstools which allows me to work with FAT filesystems without directly mounting them. I also have fdisk installed to format the disk image in the first place. For compilation and linking we need to use clang rather than gcc because it supports compilation and linking against non-native targets (remember, we need to produce a Windowsey PE executable).
Compiling
With that said, let’s start by compiling this thing. The entire C source is in a file called boot.c
clang -c \
    -target x86_64-unknown-windows \
    -ffreestanding \
    -fno-stack-protector \
    -mno-red-zone \
    -Wall -Wextra -Wpedantic -g \
    -o boot.o boot.c
Although we need to pass a few odd flags to the compiler and linker, it’s really quite standard compilation at its core. We need to specify that the compilation target is “windows” so that clang generates an object file format suitable for linking as a PE executable.
The freestanding flag tells the compiler that we don’t have a standard library (so no printf and friends). no-stack-protector tells the compiler not to generate code to automatically check for things like buffer overflows (a check which would be very useful for userspace code, but that can get in our way when we’re doing low-level memory stuff).
A “red zone” is a 128-byte region of memory just beyond the stack pointer which functions can use without worrying about their data being clobbered by interrupts, when running on top of an operating system. Since we do not have any operating system ensuring that the “red zone” is safe to use, we just disable it altogether with -mno-red-zone – it’s only an optimisation anyway, and one that we don’t need.
Once we have our boot.o object file, we need to create the PE executable:
lld-link /subsystem:efi_application \
    /entry:efi_main \
    /nodefaultlib \
    /out:boot.efi
You’ll notice that we now use these “Windows-style” flags, starting with slashes. That’s because we’re invoking lld-link, which is the Windows backend for the LLVM linker. The /subsystem flag specifies what environment the executable is supposed to run under, so that the linker understands how to link it up. One major thing this actually affects is a field in the executable header stating that it’s an EFI application; if we don’t do this, UEFI will just refuse to load it. entry and nodefaultlib are self-explanatory enough, I reckon.
Now all that’s left to do is to actually construct the disk image and place the EFI application’s executable in the right place inside!
Creating the Disk
# Make a 65MiB disk
dd if=/dev/zero of=disk.img bs=1M count=65

# Format the disk. My disk_layout.txt can be found in the attached repo, at
# https://codeberg.org/j4cobgarby/os_blog_posts/src/branch/main/1_helloworld/disk_layout.txt
sfdisk disk.img < disk_layout.txt

# Format the first (and only) partition as FAT32
mkfs.fat -F 32 --offset 2048 disk.img 65536

# Make directories and place in the application!
mmd -i disk.img@@1M ::/EFI
mmd -i disk.img@@1M ::/EFI/BOOT
mcopy -i disk.img@@1M boot.efi ::/EFI/BOOT/BOOTX64.EFI
One pretty cool thing to note in the above is that we can make the DOS tools like mmd and mcopy directly work on a FAT filesystem on a partition of a disk image by just specifying the offset into the image where it begins. That’s what the double-‘@’ syntax means.
Emulating with QEMU
Though you could just whack your newly created disk image onto a USB stick and boot from it on a real computer, it’s easier for rapid development (plus safer) to emulate it. For this, I really like QEMU. Not only does it emulate a machine with configurable hardware attached, it even provides a GDB stub so I can debug low-level kernel code (though I’m having trouble getting GDB to work with the UEFI PE executable; if anyone knows how to do that from Linux, please send me an email!)
The only problem is that QEMU doesn’t ship with a UEFI firmware implementation, so we have to give it one. There’s a really cool project called OVMF which produces a UEFI firmware implementation for QEMU, but I find the links on their Github to mostly not work when it comes to actually downloading a pre-built copy of the firmware.
I could build the firmware all myself, but then I need a few dependencies, and so I find it much easier to download the OVMF package distributed by Debian! However you do it, you need to end up with an OVMF.fd (or similar) file to install in QEMU’s emulated flash memory. Do take a look at the Makefile in this post’s code repo to see how I extract it from the Debian distribution.
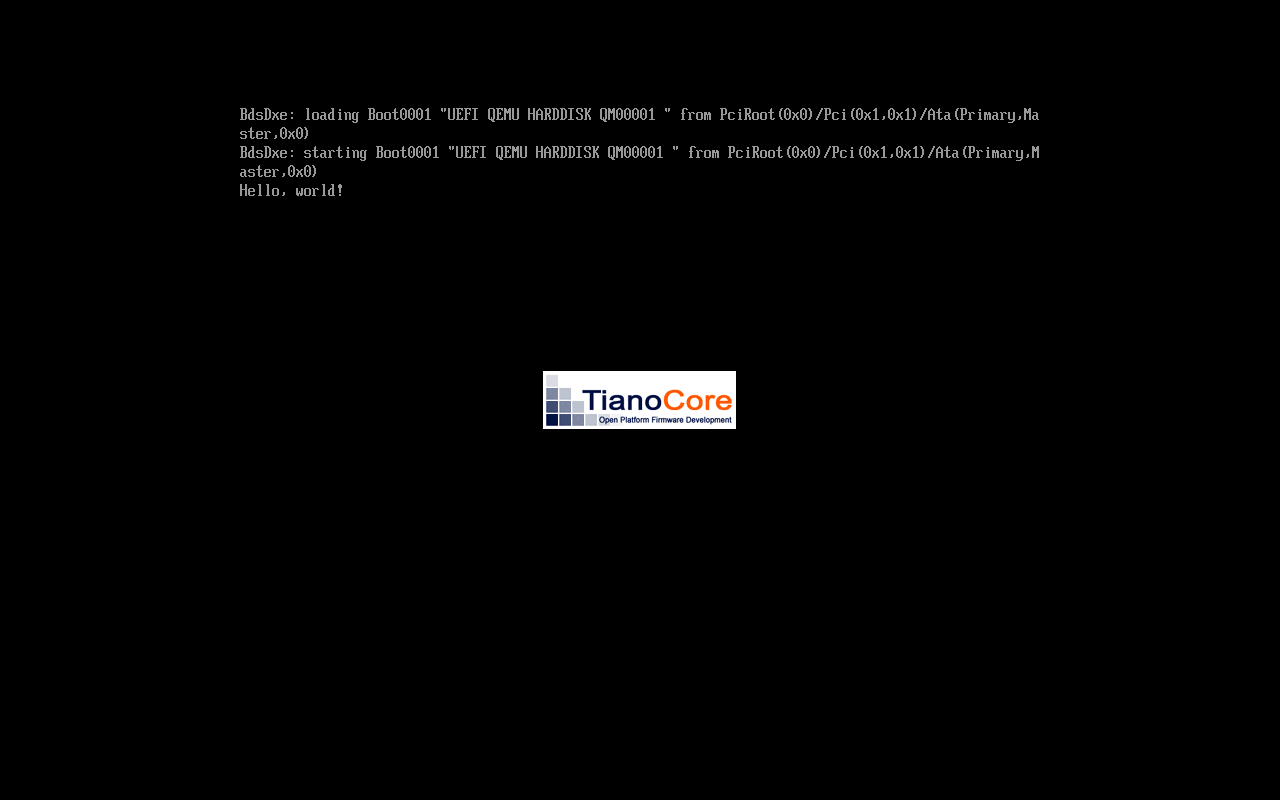
And finally, the moment we’ve all been waiting for: let’s run our very own UEFI application!
qemu-system-x86_64 \
    -drive if=pflash,format=raw,readonly=on,file=OVMF.fd \
    -drive format=raw,file=disk.img \
    -m 1G
And of course, here’s a screenshot of our Hello World application in its modest glory.
That’s all for now; thanks for reading! Feel free to browse the code, and make sure to stay tuned for the next installment, in which we will see how to parse and load an ELF executable from the disk!
Written 09 Apr 2026 by Jacob Garby